 ToddAh
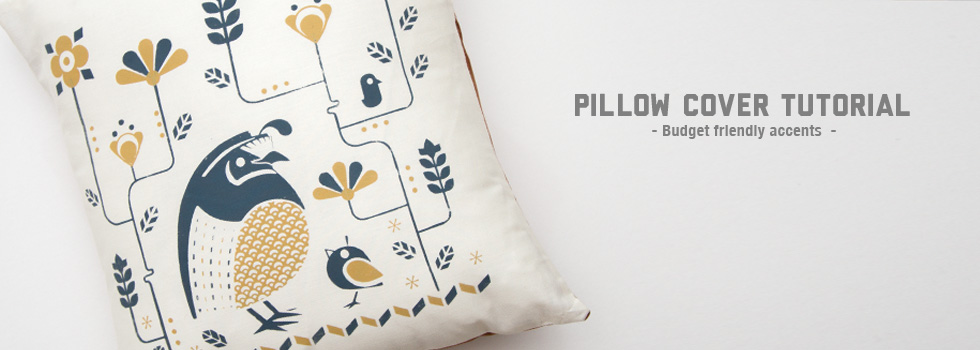
DIY Pillow Cover
Pillows can be a wonderful addition to any space. They have the ability to turn a boring couch into a conversation piece, or turn a dull living room into a bright place to entertain. What’s even better about pillows? Pillow covers are super easy to make!
Just a little FYI – this tutorial is for a 14X14 pillow. You can follow the same steps for any size pillow, just change the size of your cuts:) The thing to keep in mind is that your front piece will be the same size as your insert (14X14 insert = 14X14 cut, 12X16 insert = 12X16 cut) – this will ensure that the insert fills out your pillow case nicely:)
What you’ll need:

-scrap fabric (get creative – it can be the same on the front/back, different fabrics, or you could even print/write/draw on your fabric to make it your very own!)
-basic sewing supplies (thread, pins, ruler, marker)
– iron
1. Cut out a 14X14 square (or the same size as your pillow insert if you plan to make a different size). We are using our own little design that we screen printed – cute, huh?!
2. Cut out 2 pieces for your envelope back. For a 14X14 pillow, you’ll need two pieces cut 14X10.5 (length = 3/4 original). The key here is to make sure these two pieces overlap enough to cover the insert when it’s all stuffed inside. **Some pics may show 2 different sizes for the back, but after you stuff the pillow, there might be a gap if one is shorter (like I did). Learning from my mistakes, so you can, too!

3. Take one of your back pieces, wrong side up, fold in 1/4″ along the bottom and press. Fold in another 1/4″ and press again. Repeat with the remaining back piece, then sew along each pressed hem.

4. Place your front piece right side up, then place each back piece right side down (so that right sides are touching). Your back pieces will overlap – this is a good thing:)
5. Pin front and back pieces together, then measure and mark 1/2″ all the way around (optional). I say this step is optional, because if you’re comfortable sewing without pinning and marking, have at it!


6. Sew 1/2″ all the way around, back-stitching at each corner.
7. Trim the corners and turn that baby right side out! Make sure to turn the corners!


8. Stuff that insert into the cover, taking time to fill out the corners.

And, you’re done! Put that baby somewhere fun and show it off! Don’t forget to subscribe to our blog and like us on Facebook to stay caught up on all our tutorials!

One Comment on “DIY Pillow Cover”
Leave a Reply to Sonia Hazard Cancel reply
Don't Miss Out. We are here too!

Thanks for this great tutorial. It worked like a charm.